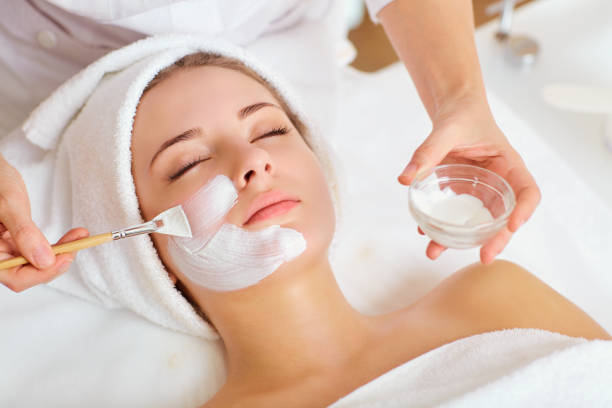
An eyelash curler is a valued beauty product that can be found in makeup kits all over the world, despite the fact that it almost resembles a medieval invention. It only takes a minute or two to include this device in your regimen, and the benefits are significant.
According to beauty artist and CEO of Lash Star Beauty Dema Jaber, “an eyelash curler elevates your cosmetic appearance.” Using an eyelash curler lengthens the lashes and makes them point up rather than straight out, giving you a more open eye look and long, full lashes.
Ready to incorporate this small yet useful tool into your routine? We’re providing a step-by-step cosmetic lesson for using an eyelash curler because using one for the first time can feel…intimidating. Let’s first discuss the qualities of a good eyelash curler.
How to Pick a Good Eyelash Curler
Some eyelash curlers are superior to others, just like with any other product. Celebrity makeup artist AJ Crimson advises, “Make sure the curler you use has a circular rubber pad in the base of the curler.” The ideal cushion is one that is both large and soft. This improves user comfort and serves to prevent your lashes from breaking when put under stress.
Additionally, you should ensure that the curler is pleasant to hold and that it opens and closes with ease. The curve should also match the contour of your eyes. Individual preferences will differ with regard to the last two features to look for in an eyelash curler, so don’t be afraid to compare products until you find the one that works best for your lashes.
The Iconic Eyelash Curler by Shu Uemera ($23; shuuemera.com) and the ProMaster Eyelash Curler by Tweezerman ($23; sephora.com) are both suggested by Crimson. Another highly rated product with a cult following is Shiseido’s Eyelash Curler ($23; ulta.com).
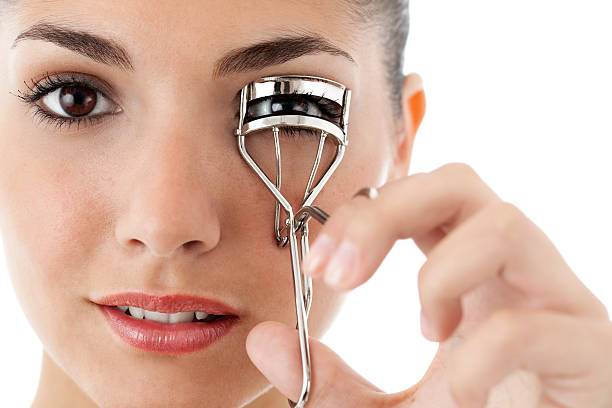
Using an Eyelash Curler
Although using an eyelash curler is rather simple once you know how, there is definitely an art to the procedure. If you follow this detailed eyelash technique, you’ll be able to achieve those fluttery, Bambi-like lashes every time.
Step 1: Start With No Makeup On
When using a conventional eyelash curler, users frequently make the error of applying mascara first. For a variety of reasons, according to Jaber, you should always begin with bare lashes. It does this in two ways. First, it stops your eyelashes from adhering to the curler, which is likely to happen if you’re wearing mascara. Second, it keeps your eyelashes from bunching up or appearing spidery. In the long run, it keeps your curler lot cleaner. (If you’re using false eyelashes with glue, attach them first, then curl.)
Step 2: Look Down Jaber suggests looking down when curling your lashes to prevent nicking your eyelid. You’ll have easier access to your lash line and are less likely to nick your sensitive eyelid skin, she claims, if you gaze down.
Step 3: Carefully Clamp Down
Your lashes should be close to the opened curler. Between the two clamps, the lashes should fall. Clamp down gently, making sure there is no skin in the space between the clamps.
Move the curler away from you if you feel a pinch, advises Crimson. If everything looks good, you can press harder. To avoid accidently nicking your skin, the objective is to get as near to your lash line as you can.
Step 4: Hold for five seconds while pulsing
Once you’re at ease, firmly (but not too strongly) push down for around five seconds. Jaber advises using a soft pulsating rhythm. On your second eye, repeat the aforementioned procedures.
Last step: Use mascara
Once both lashes are curled, apply your preferred mascara to the lashes. Apply as usual, being careful to reach the root as well as the tip of each lash. After that, if you’d like to further separate your lashes, use an eyelash comb.